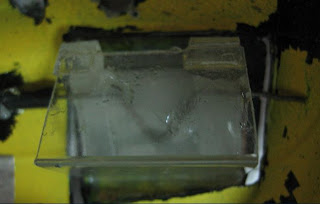
I will be using a recycled Onevia body, I got from my friend.
The DIY is really simple and it can be applied to any other bodies.
Part: One Assembly rod
Cut off an opening for the new buckets make sure its straight.
* for Trueno AE86 body follow the outline of the lid and save the Lids*


Insert the push rod into the antenna straw then bend the rod into V shape
Place the assembly rod inside the rc body for measurements
Once you have the right measurement bend the other end of the rod into V shape

Place the assembly rod inside the body and either use tape or hot glue to hold in place temporarily


Now glue hot glue or tape the Lid on the V shape rod

Check if everything is aligned

Do a manual flip test

Now you can permanently epoxy the antenna straw and the Lids

Part: Two Light buckets
Here's my version for light buckets, you need to make a triangle and for the width measure the opening in the body

Glue the bucket with the lid temporarily

Check for alignment and glue pemanently

Cut little cardboard triangles for the side of the buckets
I painted them with black markers and glue them on the sides of the buckets

Outline the front lens with a black marker

Important !
Add a piece of straw on the end of the assembly rod to prevent from moving

Part: Three Servo arm
You need a servo arm for the light bucket

Glue the arm on the side of the light bucket


You need a servo push rod for final piece bend the ends
Measure the length and where you want place the servo

Install one end of the push rod to the light bucket

Do the same on servo

Placed the servo on an angle where the wheels are free to move

Run the servo wire on the side where the receiver for easy access

Your Done!

* adding lights is another story *
Visit our Forum thread and share your project @ RcDriftRevolution.com
RC servo is to position its output arm to a position that exactly corresponds with the movement of the corresponding stick, switch or slider on the transmitter. RC servo is controlled by sending them a pulse of variable width. It parts very useful in toys.
ReplyDelete